How to Pack Healthy Budget-Friendly Back-to-School Lunches
Quick tips on packing healthy lunches for your kids - on a budget!
How to Pack Healthy Budget-Friendly Back-to-School Lunches
by Katie Cullum
It's time to start packing lunches for the kids again. Sigh. Mornings are already a little crazy, but add in making lunches and it turns into chaos! But you don't have to go crazy making sweet artful lunches, or spend a fortune on convenience foods that make you feel guilty and aren't as healthy as you would like. We've been trying to save money all summer with the SOS Family Challenge, and we're still going strong!
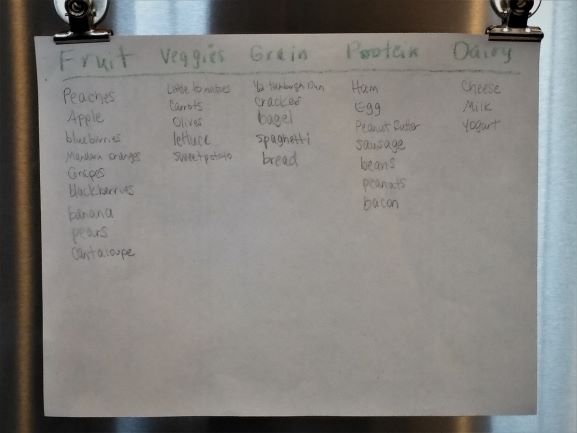
Get the kid(s) involved with the planning. They will be more likely to eat something that they helped plan, prepare, make, etc. Before my son started kindergarten, I showed him MyPlate and we discussed the different food groups and why we need them all. Then, I got a sheet of paper and wrote the food groups at the top. He came up with ideas of foods he liked in each food group. So when we need inspiration for lunches, we get out his sheet!
- You don't have to wait until the hectic morning to work on lunches! You can get the
ball rolling the night before. You can package items:
- put vegetables in small baggies or containers
- put fruits in small baggies or containers
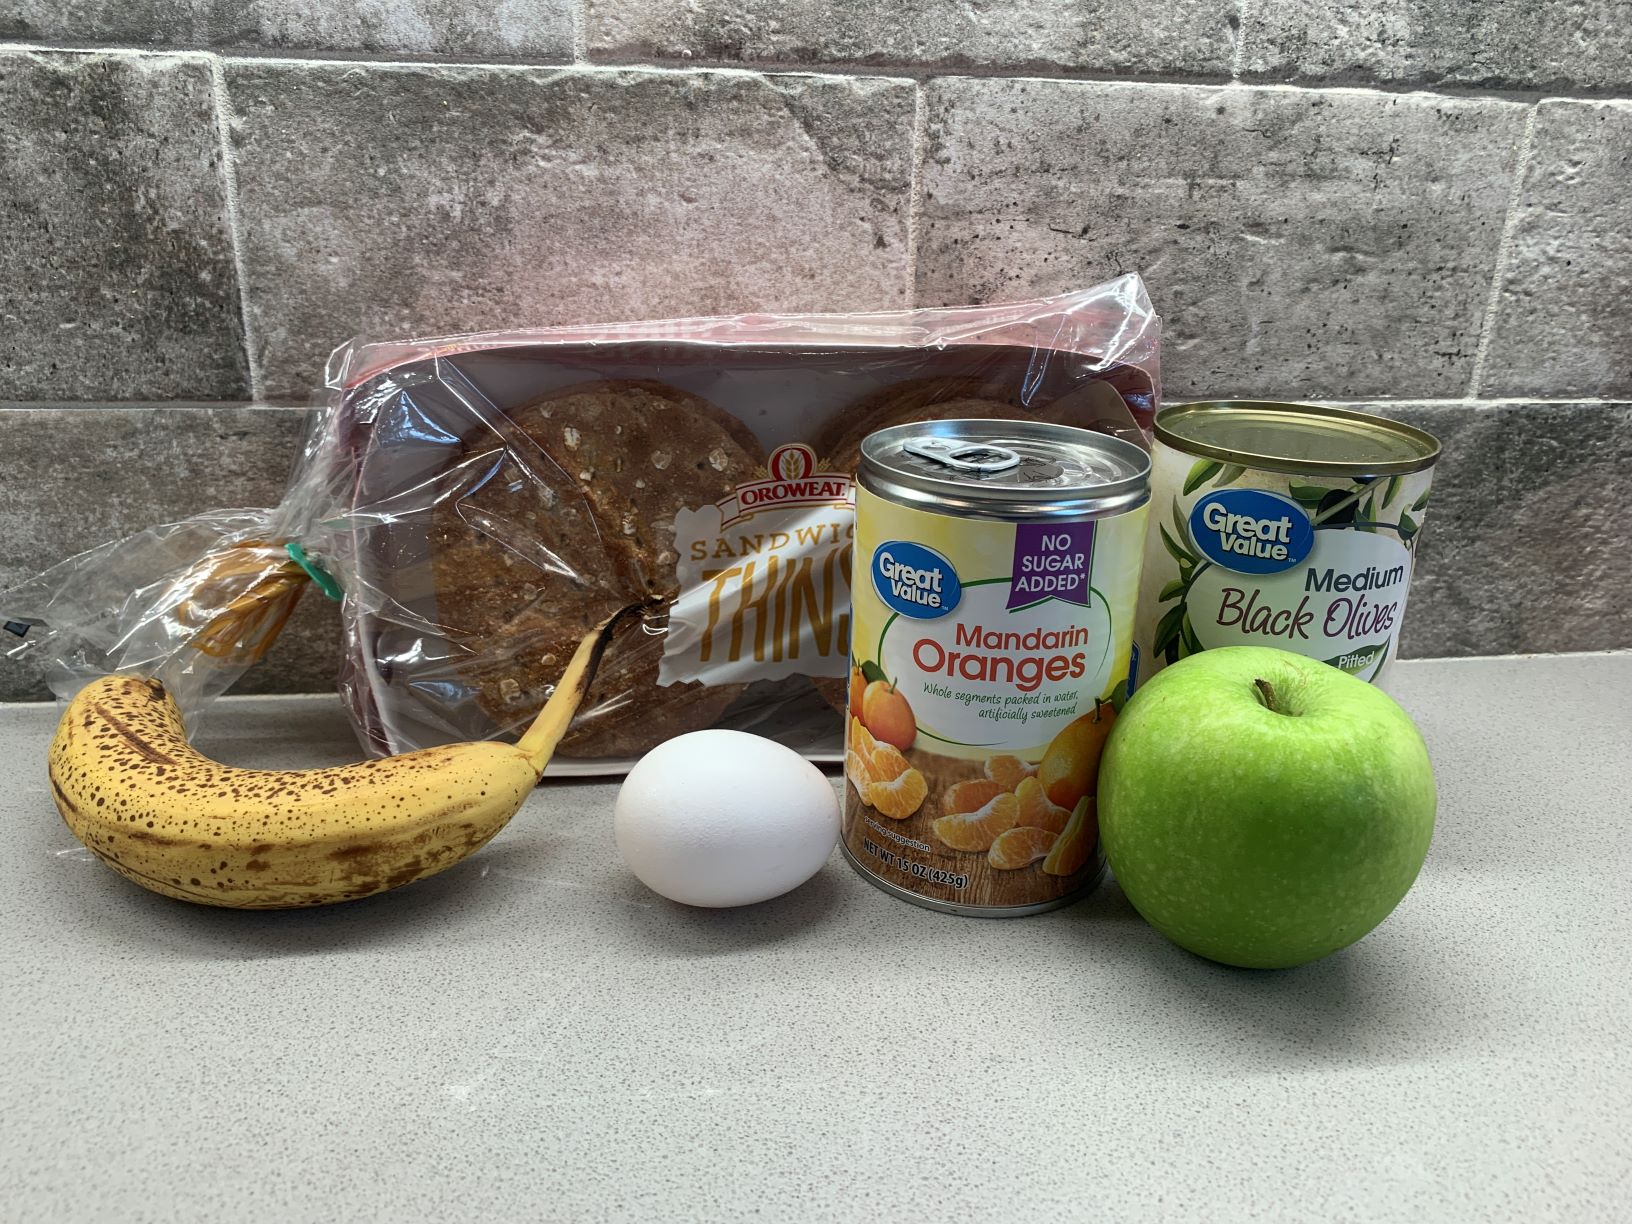
- package a protein (make a PB&J sandwich, put a boiled egg in a container/baggie, put ham/turkey in a baggie or container, etc.)
- Get your grains and dairy ready too!
- One way to save money on lunches - don't buy everything individually packaged! Some
things, like cheese sticks, come that way. But most things can be purchased in bulk,
which saves you money. Then, you can package how you like:
- cutting up blocks of cheese (blocks can also be grated - check out this post on how to save money on cheese)
- purchasing a large container of yogurt and filling small containers with yogurt (I use plain yogurt and add a little honey and some fruit)
- sending a refillable water bottle for a drink, or purchasing milk in the cafeteria instead of purchasing juice boxes
- putting fresh fruits & vegetables in small containers instead of buying small bags of chips
- Homemade lunchables instead of purchasing the pre-packaged lunch containers! I reused the plastic container that came filled with lunch meat and it works great! I also found some stackable lunch containers on clearance at a dollar store. You don't have to have fancy containers - try out what you have first. Let your kids open all the containers before using - they will need to open containers by themselves. Your kids may need to practice and feel comfortable opening containers - some are harder to open than others! Small bags are usually easy, but my son actually prefers the containers.
Here are some examples:
 |
Healthy Lunch #1This homemade lunch has whole wheat crackers, sliced ham, cheese stick, grapes, and cherry tomatoes. |
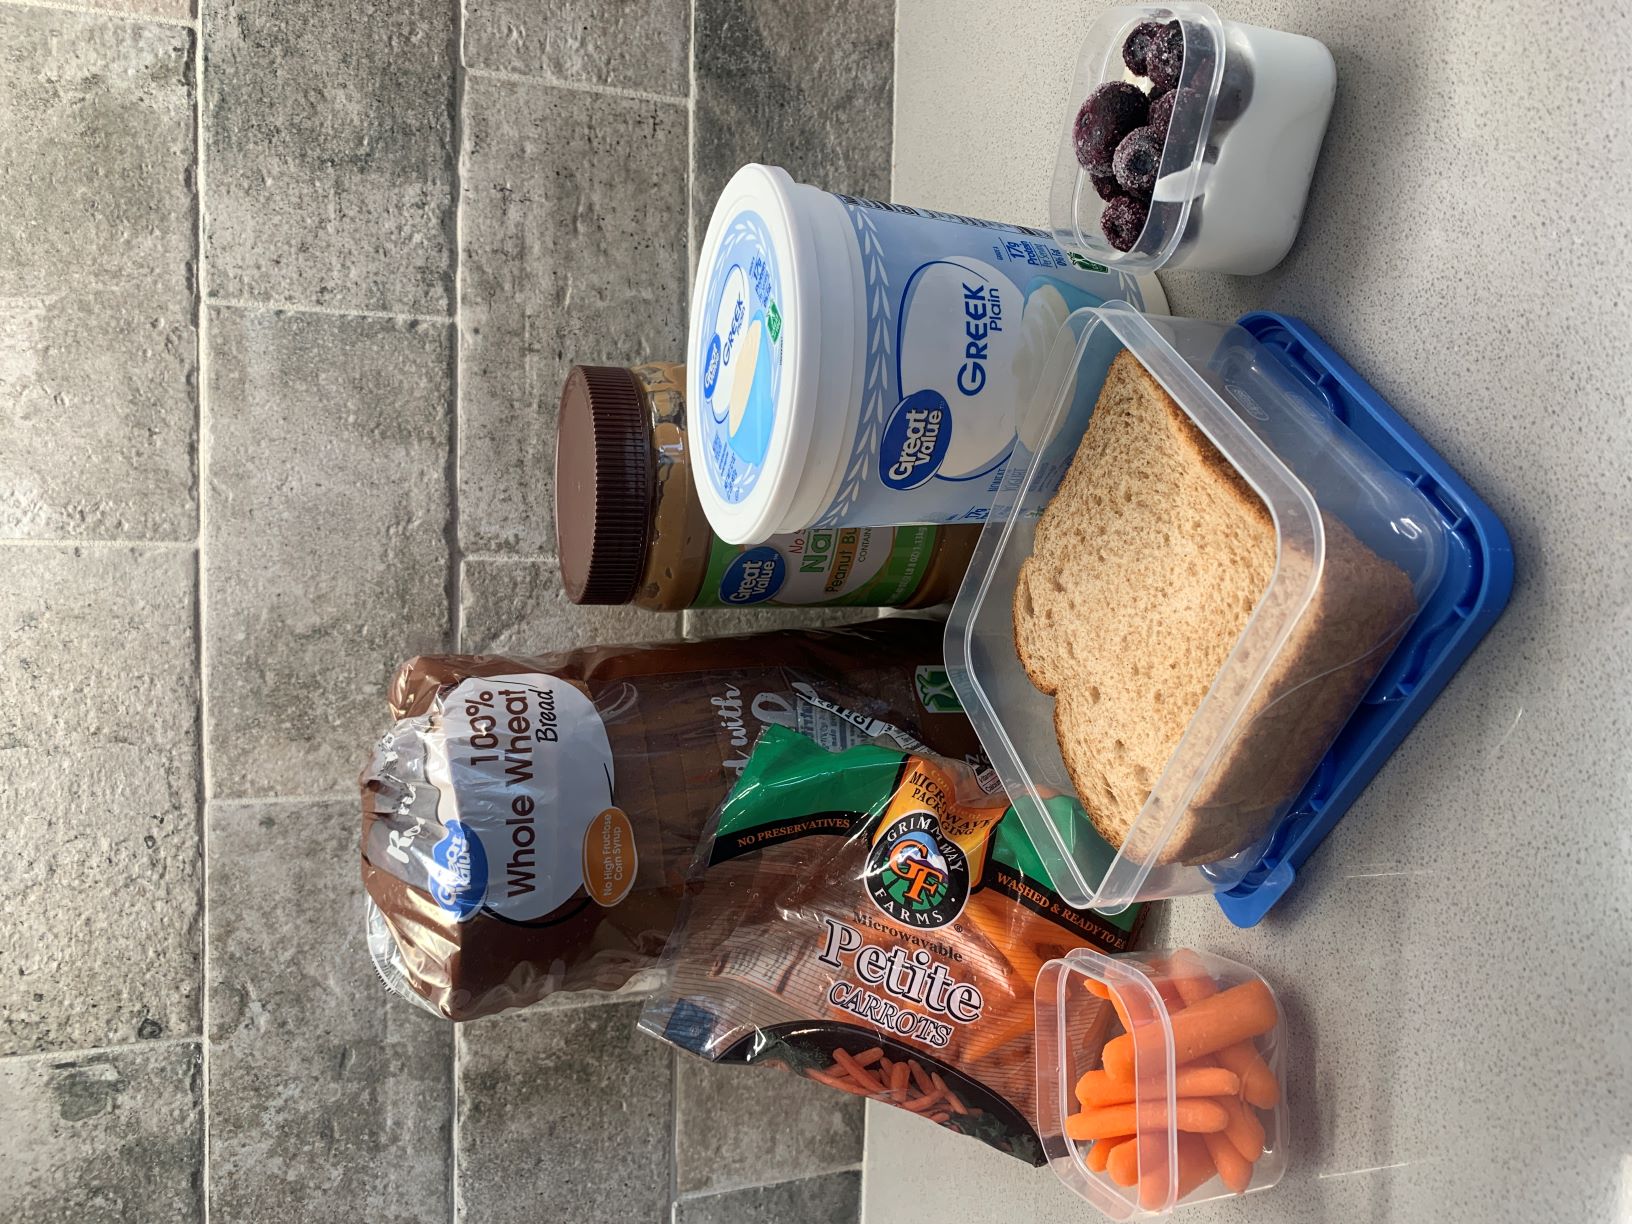 |
Healthy Lunch #2Another homemade lunch with a made with whole wheat bread (PB&J or ham/turkey/cheese), baby carrots, yogurt with blueberries. |
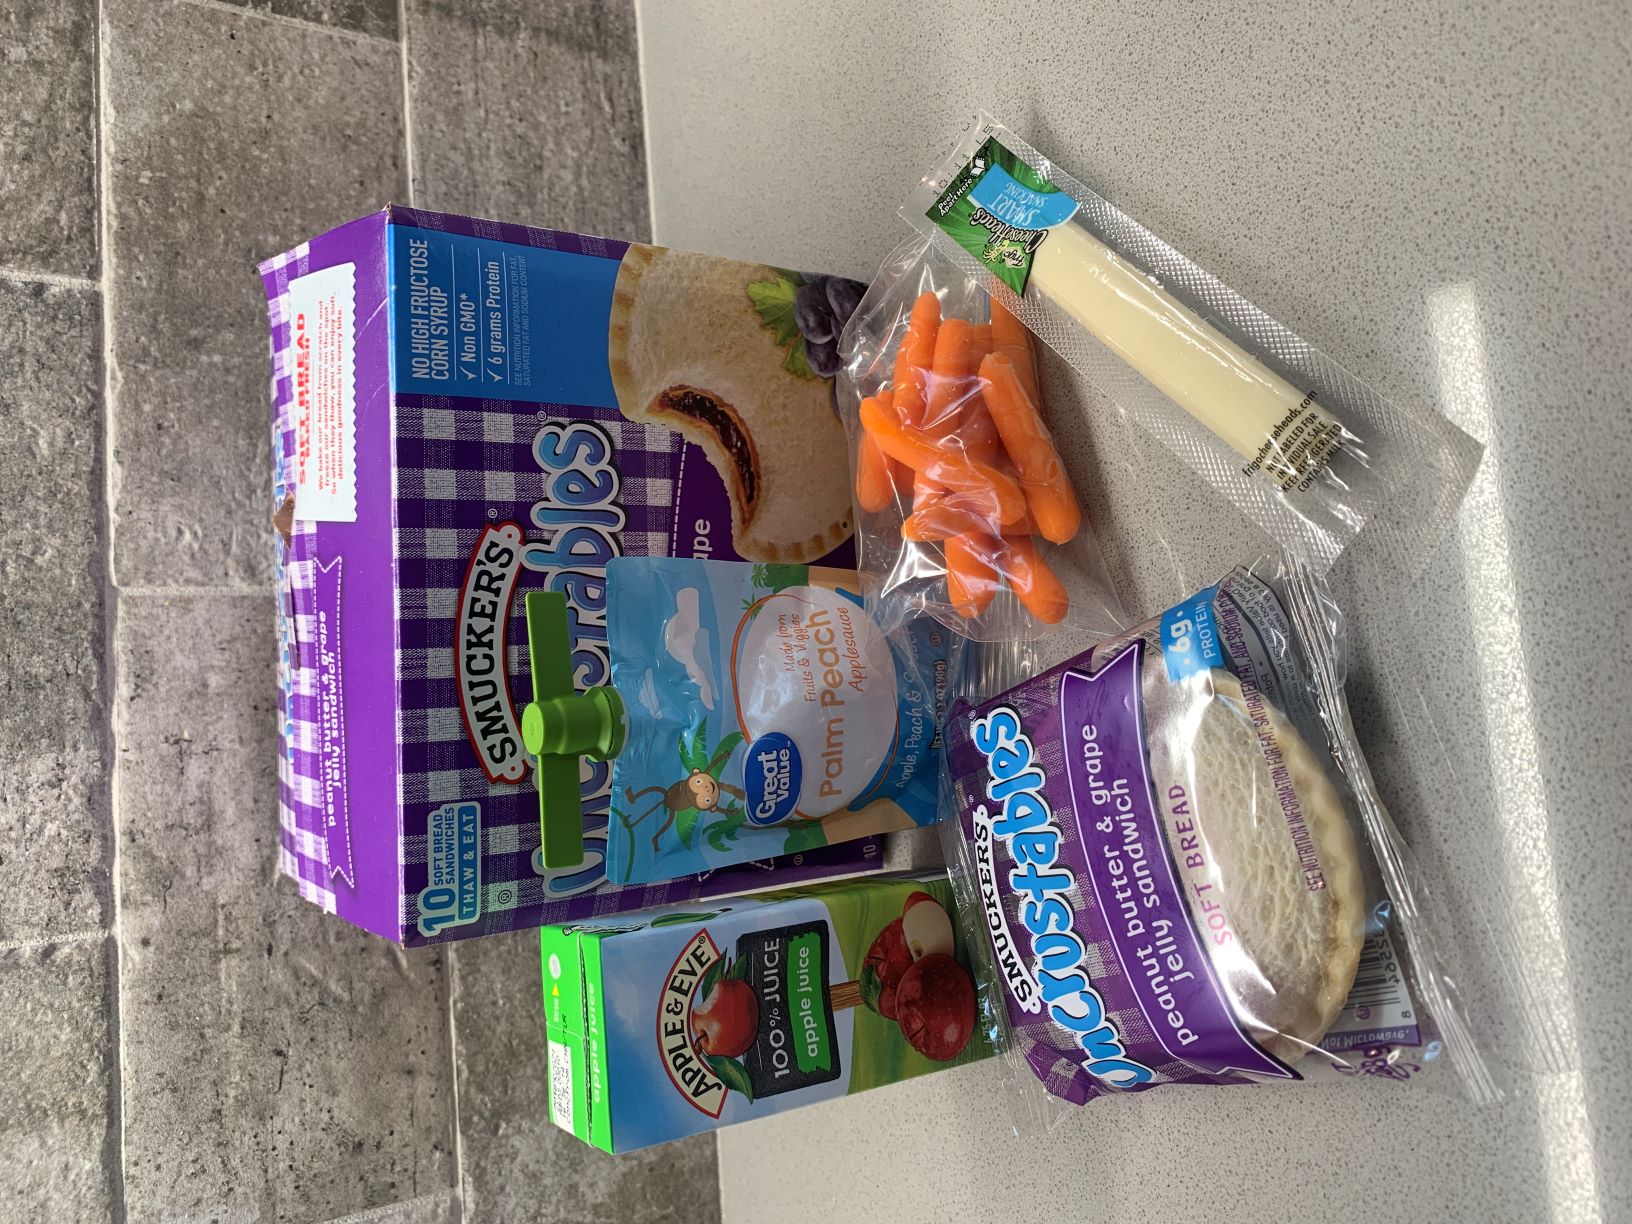 |
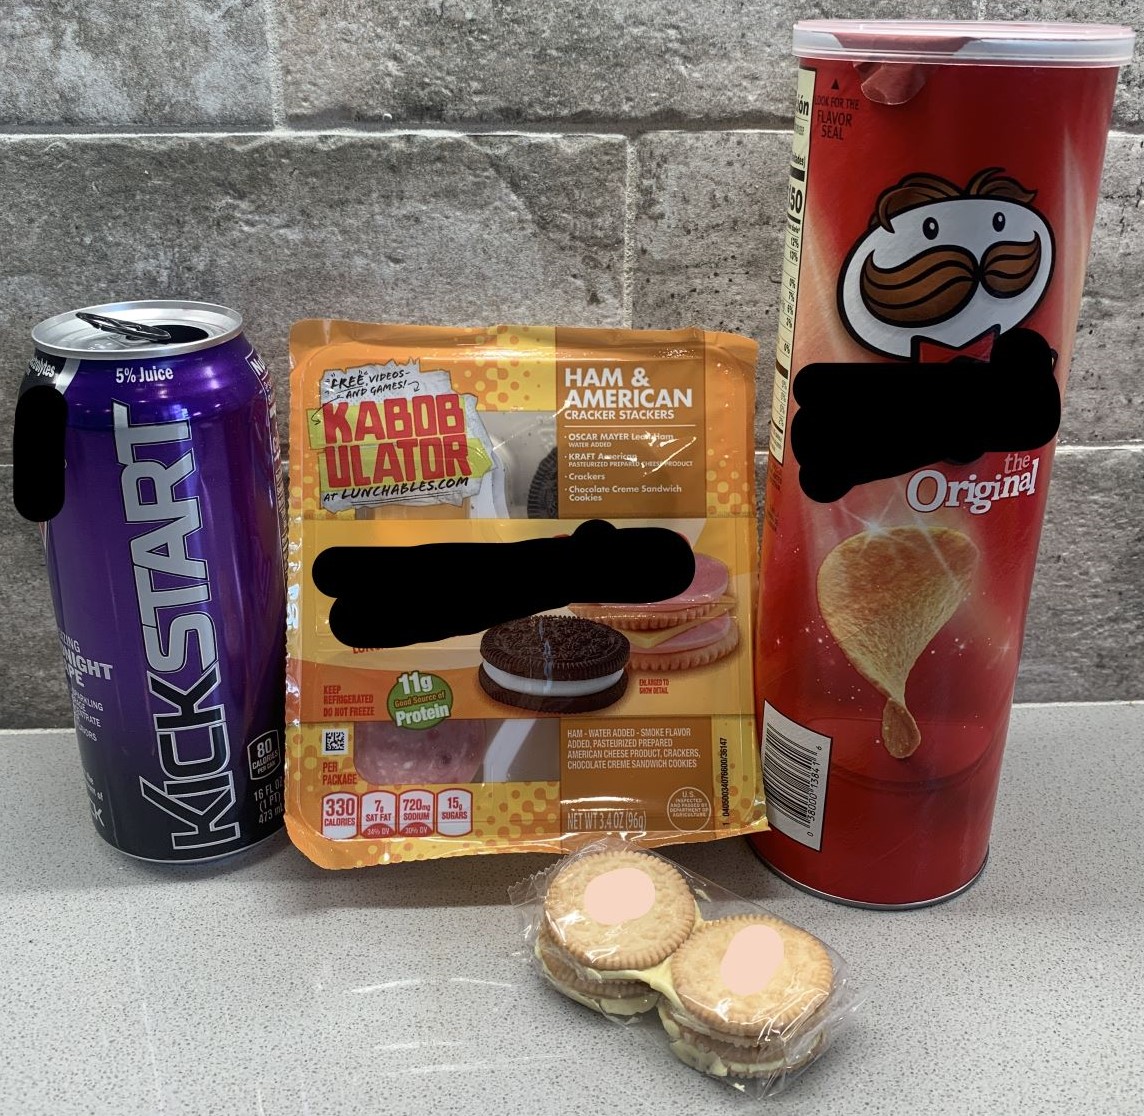
Quick LunchLunchable, baby carrots, applesauce, juice, cheese stick. |
 |
Other OptionsGet your kids involved! They may like foods that you wouldn't think about (olives, pepperoni, pinwheels or other roll-ups, etc.). Learn more |
Containers & Food Safety
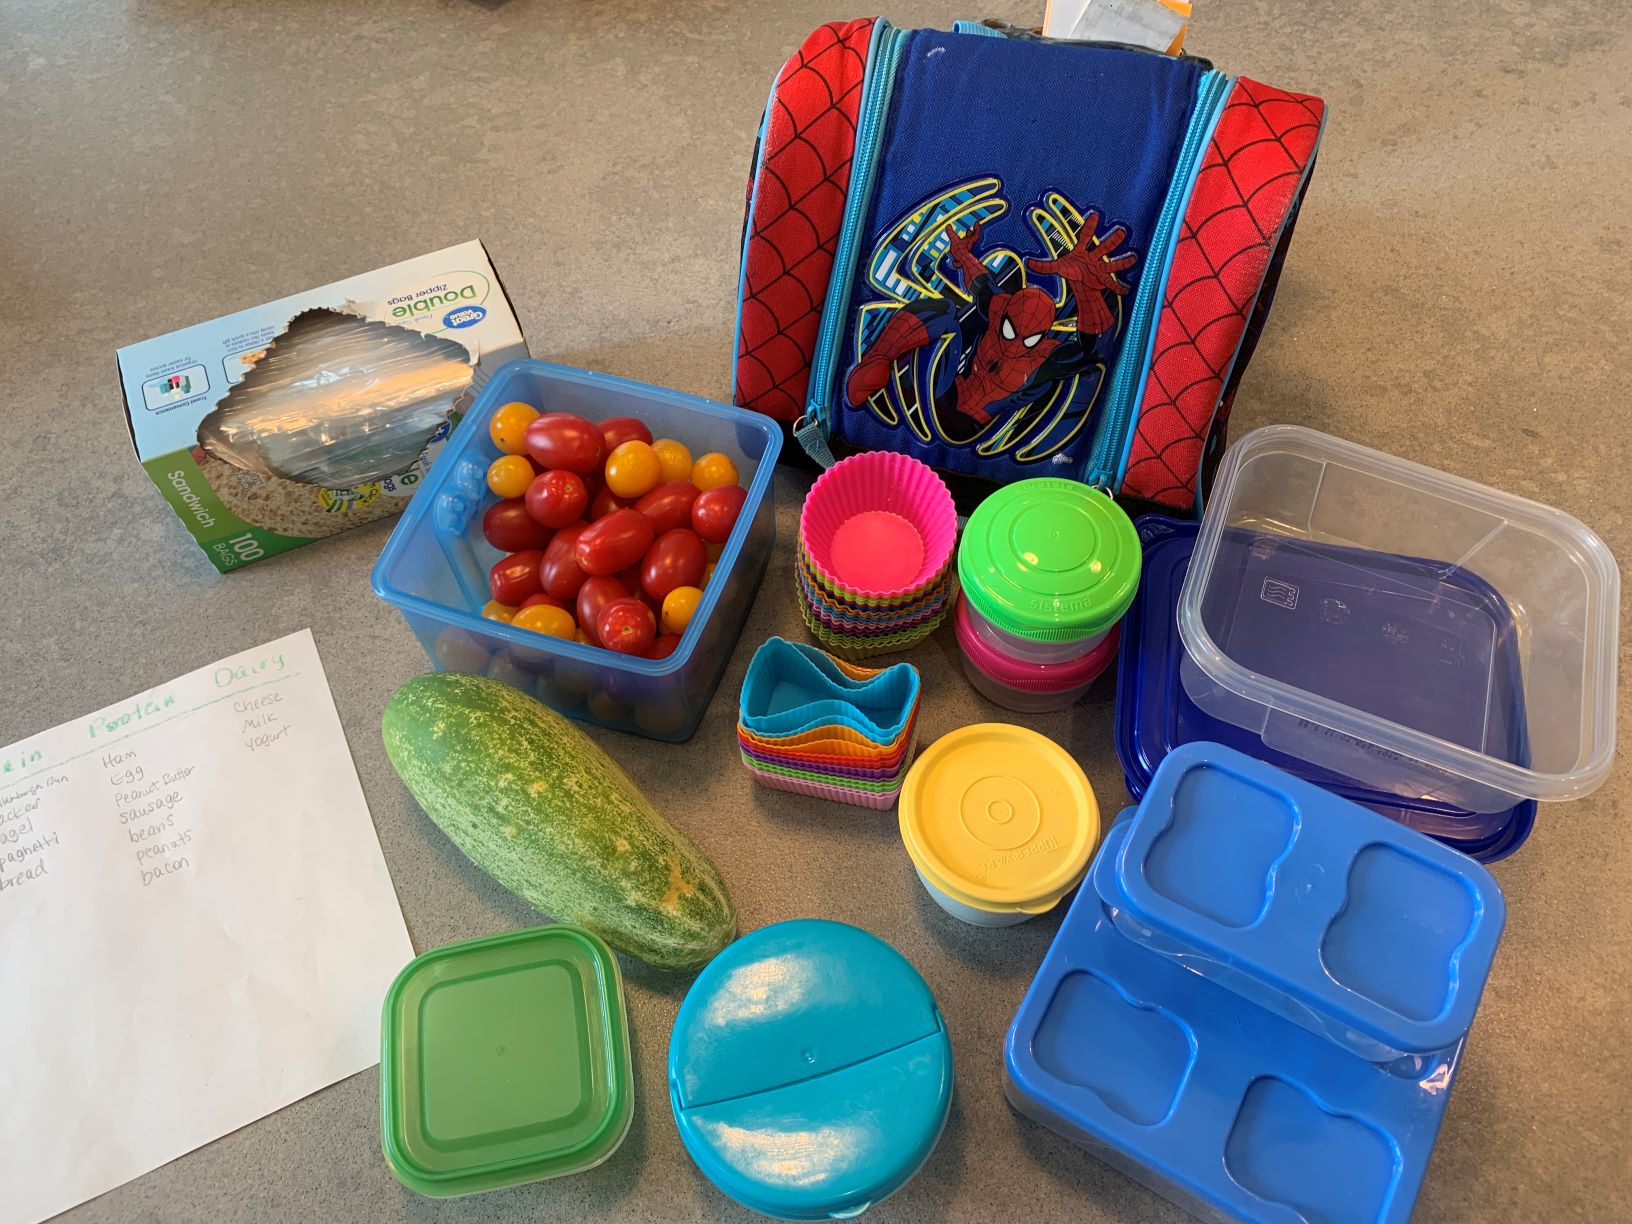
You can use a lot of different containers. Just make sure your child can open them! I like the smaller containers, but my child is still pretty young. Older children may need bigger containers (and bigger lunch bags). I've collected several different types through the years - see what you have! Check sales and clearance items also.
What other tips can you share? Go to my Facebook page and share your tips!
Check out our Made at Home: What's in Your Lunchbox series for even more great lunch ideas!
#1 - MyPlate Masters
#2 - Grab & Go
#3 - Prep Ahead
#4 - Hot & Cold
#5 - Allergy Friendly