Straw Bale Gardening, Step-by-Step
Straw bale gardening is easy, affordable and fun for kids!
Don't think you have enough time for a garden? Not enough space (or no yard at all?) for a garden either? Straw bale gardening is right for you! You say you can't or don't want to stoop and bend...think it's too hard to grow your own vegetables and plants? Try our steps below and get started.
- Check out this straw bale gardening guide from Illinois University Extension
- Check out this straw bale garden fact sheet from Washington State University Extension
Just follow these instructions…and you’re gardening!

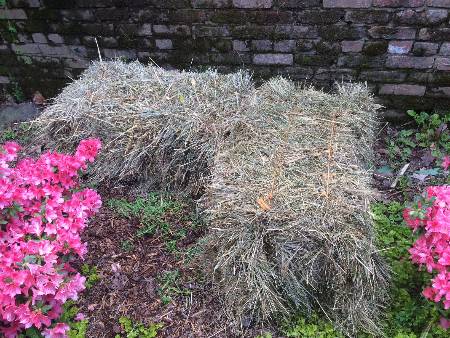
1. Purchase rectangular straw bales (approximately 2′ x 3′). Contact your local county agent to find out where to get straw bales in your area. Cost is typically $10 per bale.
>> Be sure the bales are STRAW and not hay…or you’ll be growing whatever is in that hay along with what you intended to grow. Straw is typically yellow, dry, hollow and not food for animals. Hay, on the other hand, is made of grasses and tends to be greener and is full of seeds that will sprout and fill up your garden.
2. Leave the strings on your straw bales.
3. Place bales in sunny spot which can be on concrete, asphalt, gravel, dirt, sand, etc. "SUN" is the only important ingredient in placement.
4. Condition the bales:
Day 1-3: Soak bales thoroughly and keep them damp.
Day 4-6: Sprinkle each bale with ½ cup urea (46-0-0) and water well into bales. You can substitute
bone meal, fish meal, or compost for a more organic approach.
Days 7-9: Cut back to 1/4 cup of fertilizer per bale per day, and continue to water it in well.
Day 10: Stop applying fertilizer but continue to keep the bale damp.
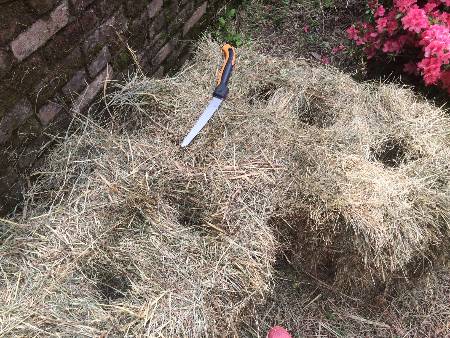
5. Dig 6″ x 6″ (approximately) holes in top of bales (four per bale). We suggest using a cutting tool typically used for cutting tree branches that can slice the straw. If you are doing this project with children make sure to keep the sharp tools out of their reach.

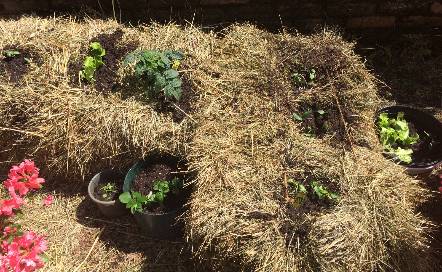
6. Add potting soil to your holes.
7. Plant your seeds or plants.
8. Water as needed.
9. Fertilize every 2-3 weeks.
For more information, contact your County Agent.
NOTE: The straw bales will last the growing season but will be useful in the fall/winter as mulch for your garden. The straw bales are not a permanent fixture in your garden so be sure to try this each season!
