Grow Your Own Cornmeal
Contact
Clark County Extension Service
Amy Simpson, Horticulture
Cindy Ham, 4-H and Ag
JoAnn Vann, Family & Consumer Sciences
Phone: 870-246-2281
Email: clark-arkadelphia@uada.edu
Follow us on
Facebook
Clark County
Cooperative Extension Service
640 S 6th Street Suite B
Arkadelphia, AR 71923

Grow Your Own Cornmeal
By: JoAnn Vann
As the seed catalogs start to come in and you begin to visualize your garden spaces lush with fresh herbs, vegetables, and fruits, have you ever considered growing your own cornmeal? We decided to try a test plot last year and I wanted to share our results with those of you who are interested in trying it to!
Prepping the Garden
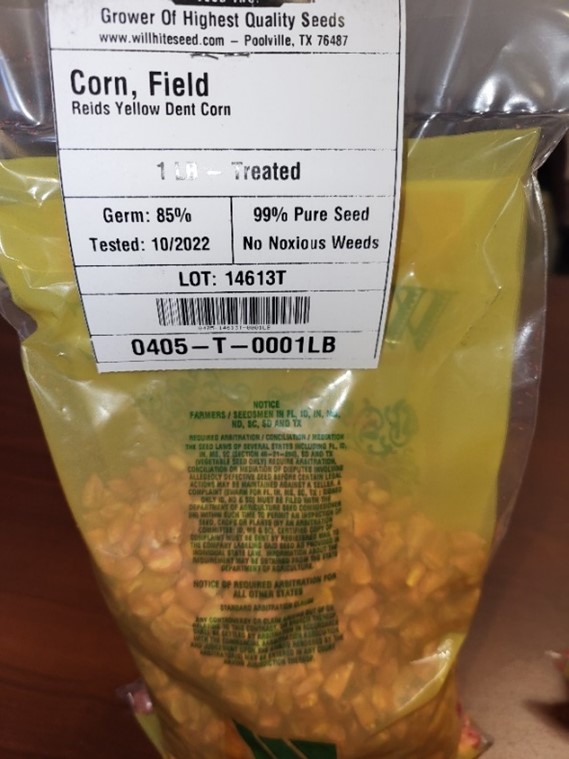
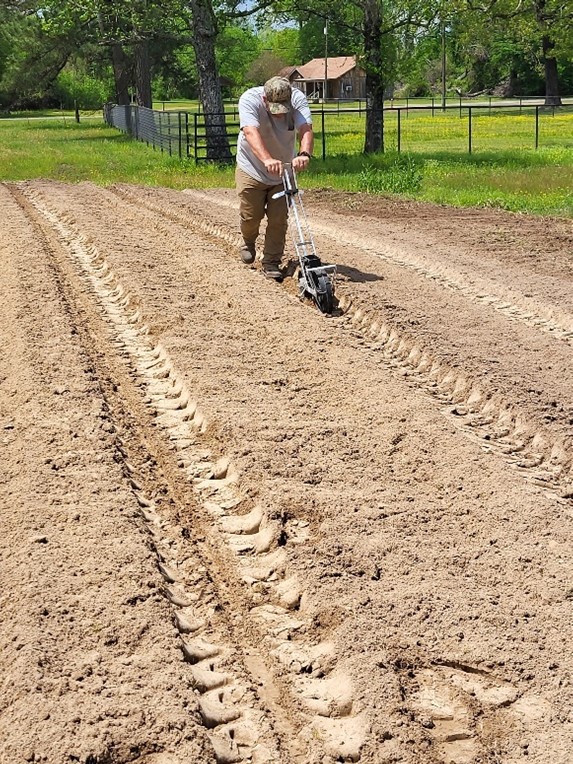
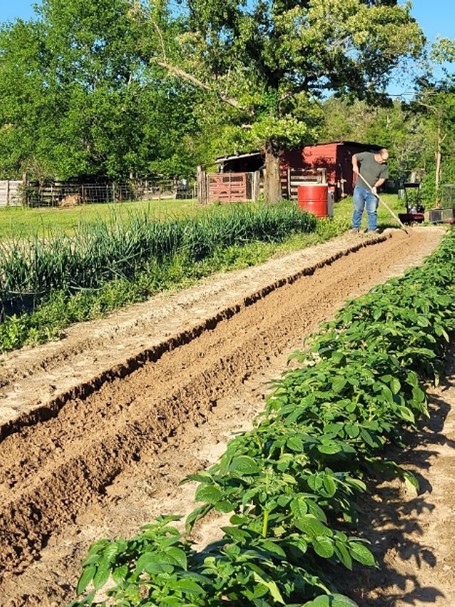
First, we took soil samples from the garden and completed the recommended amendments prior to planting. We selected treated Reid’s Yellow Dent corn seed since that variety was the most often cited in the homesteading articles I saw. The treating protects the seed from disease and pest damage to improve germination rates. We use a push seeder for most of our garden. My husband is planting peas in the picture, but he also used it for planting our corn.
When planning your crop spacing, avoid cross pollination issues by planting corn types (sweet, dent, and popcorn) at least 500 ft apart or plant 14 days apart.
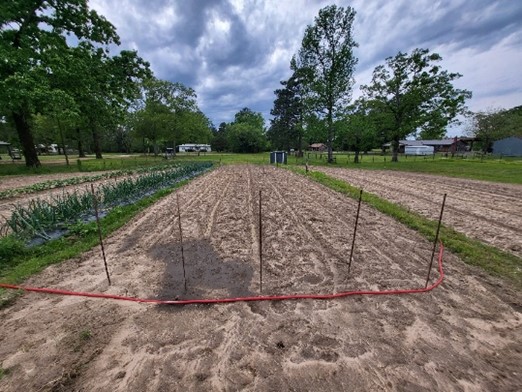
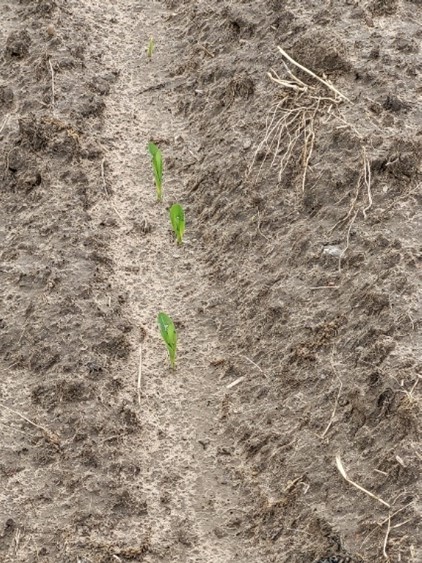
We planted 5 rows approximately 25 ft long. We have a problem with crows in the area picking seed out of the ground. We drive rebar at each end of the row and run fishing line between the rows. Works like a charm! We had excellent germination rates and low seed loss- almost every seed came up!
Growing the Corn
Once it started to get hot and dry, we put in soaker hoses to irrigate the rows. This corn gets tall! In this picture, it is only about half as tall as it got by harvest! High winds were an issue with how tall the plants were. We wove twine through the plants from one end of the row to the other using the rebar to secure the twine in multiple places. Then we heeled dirt around the roots to help the plants survive the spring and early summer storms.

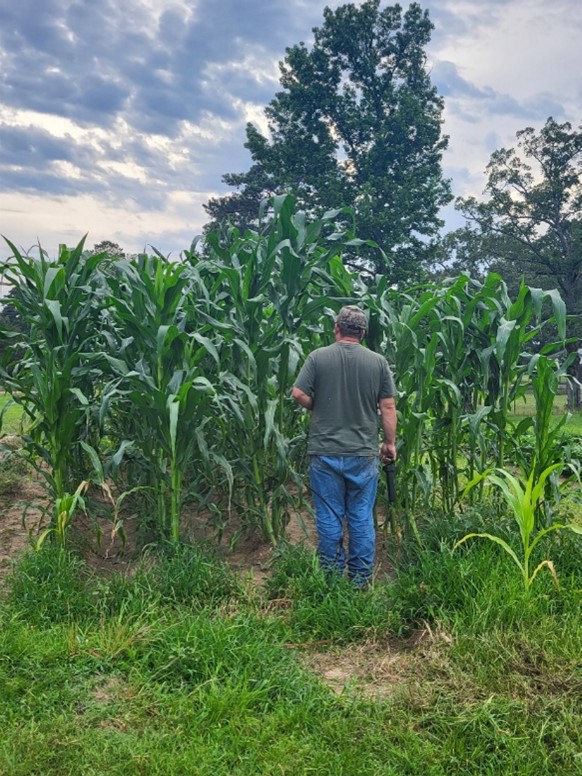
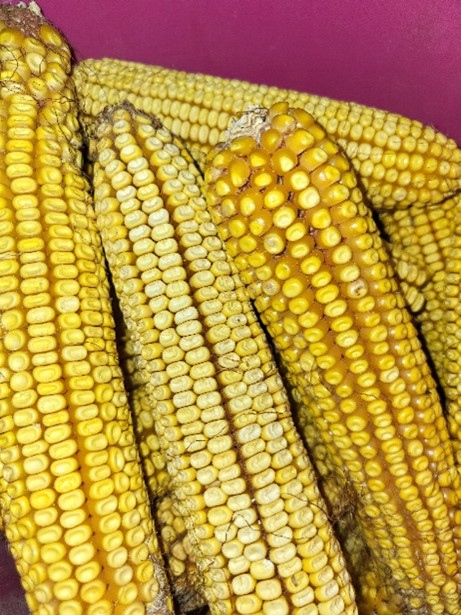
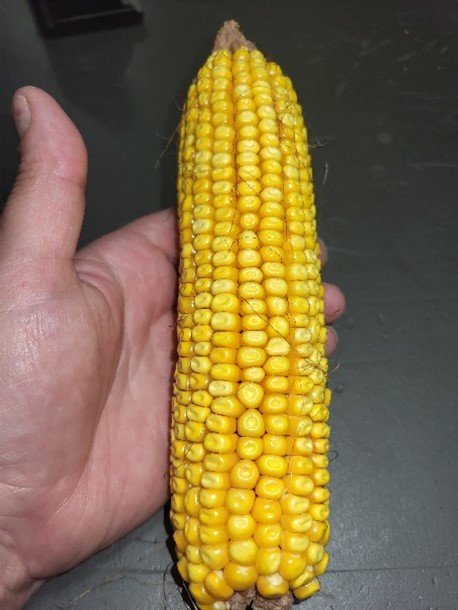
Our County Ag Agent, Amy Simpson, worked with us on an integrated pest management plan since there is little reliable information available about growing dent corn on the homestead rather than commercial level. We left the corn on the stalks for as long as possible but pulled it once birds and wild animals started to pilfer it. Most of the ears were well filled out and good size as you can see in the photos.
Shelling the Corn
We shucked the corn and let it dry a little longer in a cool, dark shed before shelling. It was difficult to tell just by looking whether the ears were dry enough or not. As we discovered when we started shelling, some were still too moist and did not shell well.
I wish we had stopped, and I had taken a sample into the office to test the dryness level.
County Agriculture Agents have access to the meter used to test dryness but be sure to call a couple of weeks before you plan to shell so they can have the meter sent to their office as it is shared among multiple counties.
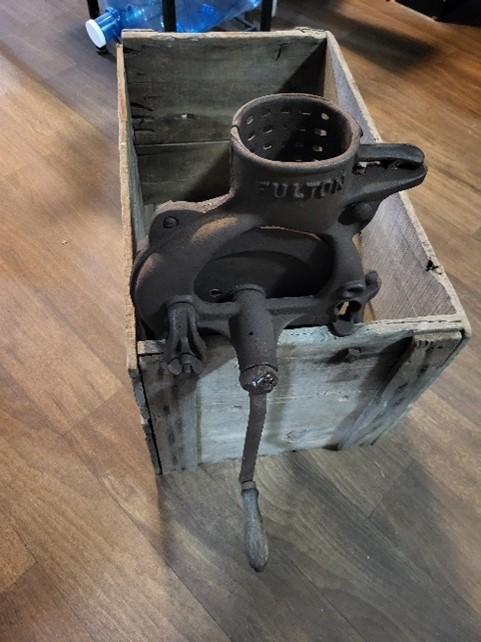
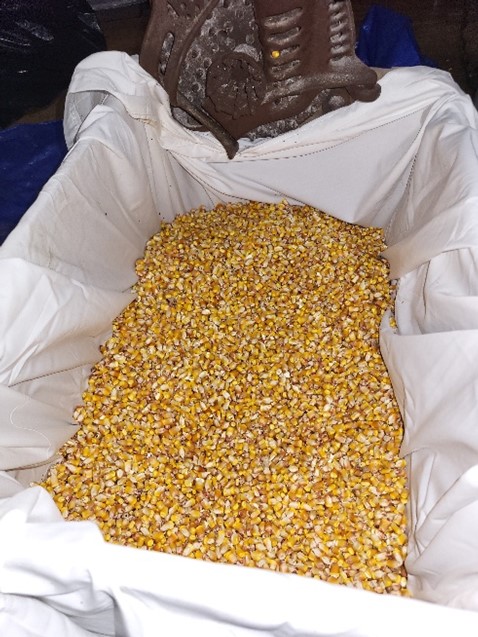
Using an antique hand crank sheller, it took less than an hour to process our crop. I was thrilled that we got 38 pounds of shelled corn off those few rows! When grinding for cornmeal, the ratio of shelled corn to milled cornmeal is close to 1:1, meaning one pound of shelled will produced 1 pound of milled.
Last year we used a colander over an empty bucket. We managed to get 2-gallon bags winnowed and freeze treated* for storage immediately after shelling. Unfortunately, we were traveling the next 12 days and when we got back, the rest was ruined by weevils. We learned a hard lesson last year-we need a faster plan for winnowing so we can store it before insect damage can occur.
*To store, either heat or freeze treat the shelled corn. For heat treating, place in oven until center of grain is 120 degrees F for 30 minutes. Even temperature control is difficult to achieve and consumes more of my time monitoring each batch, so I prefer freeze treatment. For freeze treating, place in freezer at 0 degrees F for 4 days. Once treatment is finished, place in an airtight container or for long term storage, seal in foil lined pouches with oxygen absorbers. DO NOT heat treat seed you plan to plant.
Making the Cornmeal
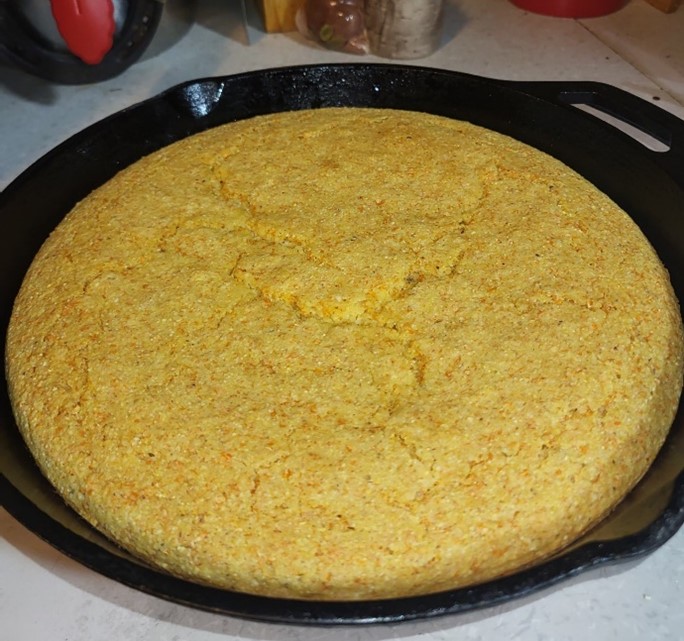
Now for the tasty part of this experiment! We use an antique grist mill to grind our corn. Using that mill, we reach the desired texture in two passes without much effort or time. The first pass we set the mill to it’s coarsest setting to crack the kernels. On the second pass, we set it just above it’s finest setting. Comparing the home ground cornmeal to store bought cornmeal, it was much darker yellow with more orangish specks and much more fragrant. Our first use of our fresh cornmeal was a skillet of cornbread. It was delicious! We also love the homegrown cornmeal for coating catfish for frying.
Final note, we will grow dent corn again this year, but I think we are going to try a white corn variety this time since we use both yellow and white cornmeal frequently. A big thanks to my husband, Jeremy! He has is a gifted gardener who grows so many of our foods. Without his expertise, this experiment would not have been possible.
If you do not want to grow your corn, but want whole corn to grind, human food quality shelled corn is available from online sources. You can tell this is a handed down recipe by the “handful” measurements, but that is part of what I love about it- this is the way my Mom learned to make cornbread from her mother. I use a 10” cast iron skillet with the recipe below and adjusted up the leavening a small amount to account for the extra weight of the whole grain cornmeal. Be sure to coat the skillet with a bit of vegetable oil and place in the oven to preheat.
JoAnn’s Home-Ground Cornbread Recipe
Ingredients:
- 2 cups buttermilk
- ½ tsp salt
- 2 tsp of baking powder
- 1 tsp of baking soda
- 1 egg
- 6 handfuls of cornmeal
- 3 handfuls of all-purpose flour
Directions: Preheat oven to 400 degrees. Mix all the ingredients except the buttermilk together. Add buttermilk until the batter is thick enough to hold shape, but still slips off a spoon. I usually do not need the full 2 cups of buttermilk. Pour batter into hot skillet and cook for approximately 30 minutes or until toothpick comes out clean.
Questions?
Contact me, JoAnn Vann, County Agent at the Clark County Extension Service at 870-246-2281, by email at jvann@uada.edu, or in person at 640 S. 6th St. in Arkadelphia.