Self Sufficient U Blog
Contact
Clark County Extension Service
Amy Simpson, Horticulture
Cindy Ham, 4-H and Ag
JoAnn Vann, Family & Consumer Sciences
Phone: 870-246-2281
Email: clark-arkadelphia@uada.edu
Follow us on
Facebook
Clark County
Cooperative Extension Service
640 S 6th Street Suite B
Arkadelphia, AR 71923
Five Tips for Growing Garlic
Amy Simpson

My absolute, hands-down favorite thing to flavor my recipes with is garlic. Roasted veggies, soups, meats, sauces, ALL OF IT gets a nice dose of either minced garlic or garlic powder in my kitchen. My house is certified vampire-free.
A member of the onion family, garlic can be grown easily in south Arkansas. Why not try it yourself and stock your pantry full of home-grown flavor? Let’s look at a few quick tips to get your started on your garlic growing journey.

When should I plant garlic?
In Arkansas, garlic can be planted in the fall and into early winter, from October through mid-January. The cloves need time enough to develop daughter cloves before next summer, and planting later than mid-January will result in just one single large clove. In other words, the sooner, the better.
What kind of garlic should I grow?
Now that we’re in prime garlic-planting time, it’s time to purchase your garlic bulbs if you haven’t already. The two general types of garlic to choose from are softneck and hardneck (also referred to as stiffneck).
Softneck types have a soft flower stalk and are better suited for our southern climate. Usually, they produce more cloves than hardneck types, and you can easily braid them together after harvest.
Hardneck types have a central scape or stalk and produce better in northern climates but can be grown in Arkansas.
Among those two types, the flavors can range from mild to sharp, so you may want to try planting a few different varieties to cover your tastes. If you can’t find garlic bulbs to plant locally, go on-line for a variety of options.
Why is soil prep important when growing your own garlic?
Garlic prefers loamy soil that crumbles easily and is high in organic matter. Incorporating compost and other organic matter like rice hulls into your soil before planting is a great idea. Garlic is what is called a “heavy feeder” because it likes high fertility levels, specifically of the macronutrient phosphorus because it is important for root development.

Our fact sheet on garlic recommends fertilizing with 10-20-10 (10% nitrogen, 20% phosphorus, 10% potassium) at a rate of 1 pound per 100 square feet applied three times throughout the growing season. If you can’t find 10-20-10, a 5-10-10 fertilizer at a rate of 2 pounds per 100 square feet will work just as well. Incorporate it during planting and then two times in the spring as they really start to grow. If you are interested in using an organic fertilizer, bone meal is a good source of phosphorus.
How to plant and care for garlic
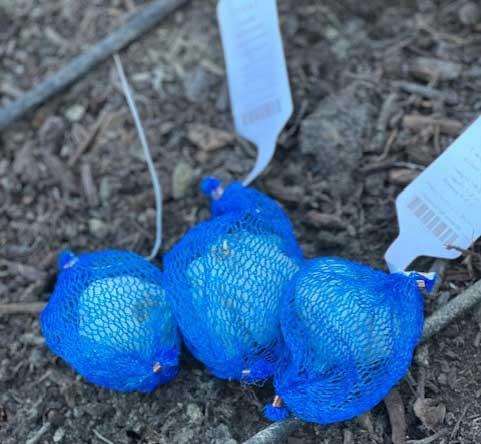
Once your soil has been amended, it’s time to get the cloves in the ground. Keep your garlic bulbs intact, meaning don’t separate the cloves, until you plant. Once they are separated from the roots, the cloves may start to deteriorate. One of the bulbs I ordered this year had separated during shipping. They were still firm and looked to be in good shape when I planted, so fingers crossed they do alright.
Cloves can be planted 3-6 inches apart, allowing 12-30 inches between rows if planting in a traditional row garden. If you are planting using the square-foot method, you can plant 4-9 cloves per square foot, depending on the spacing recommendations for the particular garlic you are planting.
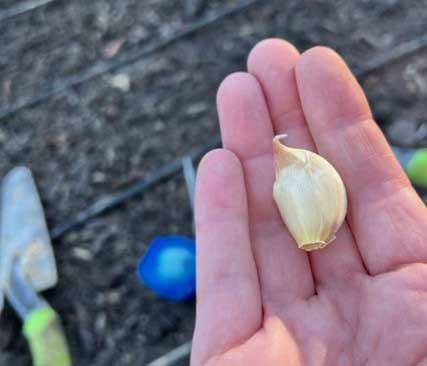
Making sure the “pointy end” is up and the “flat end” of the clove is down, cover your cloves to a depth of 1 inch, and lightly mulch with straw or leaves.
We are experiencing a severely dry fall in south Arkansas this year. It is important to water the garlic because the bulbs will be small in excessively dry soils.
Garlic is very tolerant of cold temperatures. In the nearly non-existent chance that temps get below 0 degrees down here, you will want to cover the plants themselves with leaves or straw.
Much like onions, the only real insect pests of garlic are root maggots and thrips, and they may get bulb rot if planted in poorly drained soil, but overall, garlic is pretty easy to keep healthy.
Tips for harvesting garlic

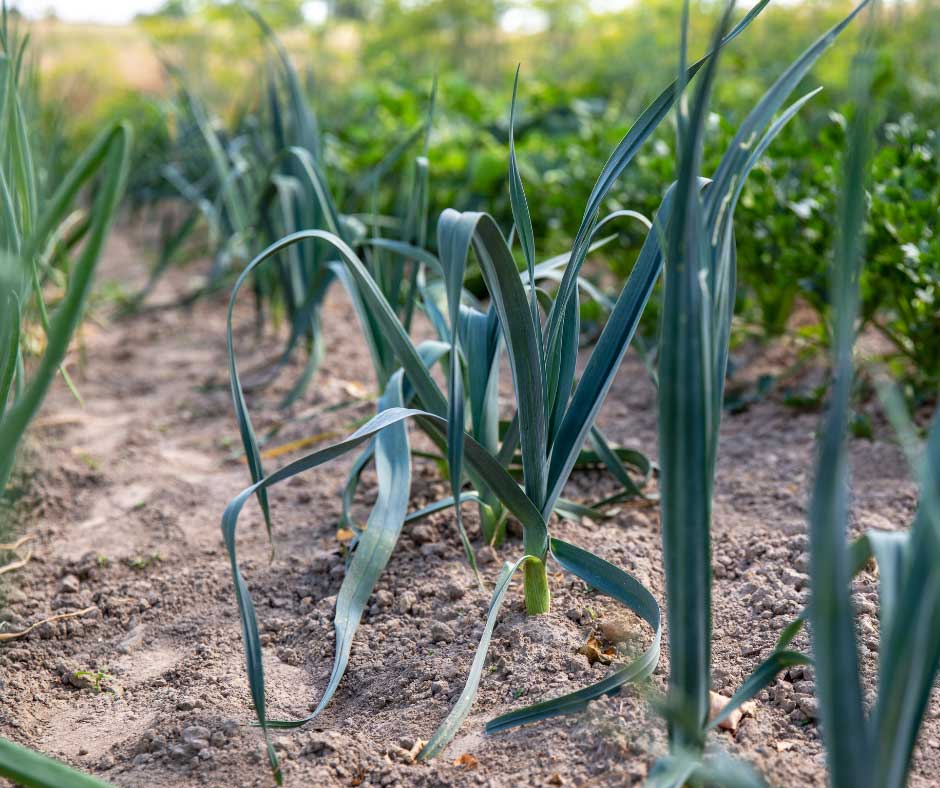
Garlic isn’t just a one-trick pony. Before the bulbs mature, you can start harvesting some of the older leaves to use like scallions. Make sure they have six or more leaves before doing that, though. If you have tried a hardneck variety, you will want to cut the hard, round flower stalk, or scape, that emerges and use it like scallions or pesto as well. If you do not cut or break it out, it will greatly reduce your bulb size.
Also, during the spring, if you just can’t wait until the bulbs are mature, you can harvest some as green garlic to cook with. The green, immature garlic doesn’t store well, but if you are going straight from the garden to the cutting board with it, it’s a great way to add flavor to your dishes while waiting on the rest of the bulbs to mature.
The tops, particularly the older leaves at the bottom, will start to yellow and dry in the early summer, and that is when you can harvest the mature bulbs. Gently lift the entire plant out of the soil and brush them off, but do not wash them. You do not want to introduce moisture that could cause rot.
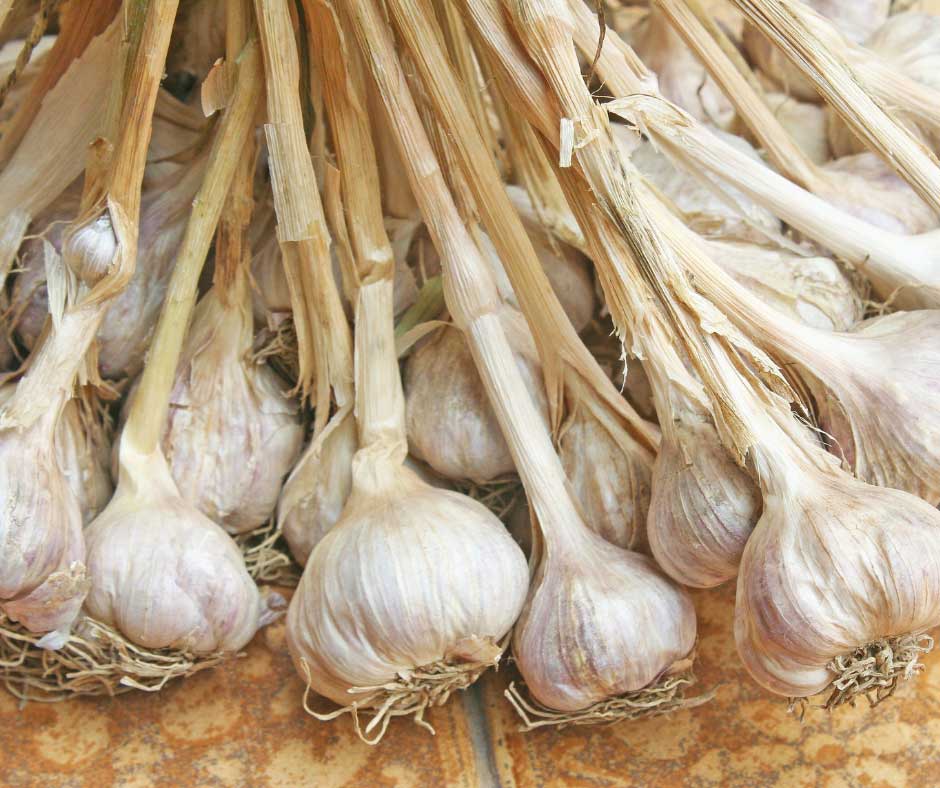
They will need to be cured in a shady, warm area with good air movement for 2-3 weeks. Place them on drying racks or screened trays or bundle them and hang during this time. Once the necks and tops are dry and the outer skin is papery, remove the tops. Use clean, sharp pruning snips to cut the tops about an inch above the bulb. You can also use scissors to snip the roots and remove the very outer paper covering to clean them up a bit before storing in a cool dry place. Mesh bags are a great way to ensure that they stay dry during storage.
Alternately, you can braid the tops and hang for storage.
Save your best, biggest bulbs (as hard as it may be) for next year’s planting. Bigger cloves produce bigger bulbs, so saving your best ones for planting every year will ensure more uniform, larger bulbs at harvest.
That’s it. Pretty simple. Growing garlic is an easy thing to add to your gardening repertoire. I know you will be pleased you did, and you’ll enjoy cooking with your own home-grown garlic.
For more information on the history and use of garlic, with a great ratatouille recipe thrown in to boot, visit here. Contact your local county extension agent if you have any questions!